I have partnered with Smile Brilliant for this post. As always all opinions within this write-up are entirely my own.
 I recently turned 40 and with that monumental birthday came a bevvy of insecurities about entering a knew decade. The number seemed daunting to me and where I was comfortable with my appearance before I suddenly became self-conscious about the tell-tale signs of aging – abundance of greys in my hair, crows feet and wrinkles in my forehead – ugh! Thankfully my smile still shines bright because of Smile Brilliant Teeth Whitening System.
Honestly, I never thought my teeth needed whitening until I started using Smile Brilliant and saw results. I don’t smoke or drink coffee and I brush with a baking soda toothpaste 2-3 times a day so my teeth appeared pretty white. But evidently age yellowed my pearly whites and after only three applications I saw obvious results.
My experience with Smile Brilliant was fantastic. I was sent the whitening kit which includes all that you need to get you on your way to a dazzling smile.
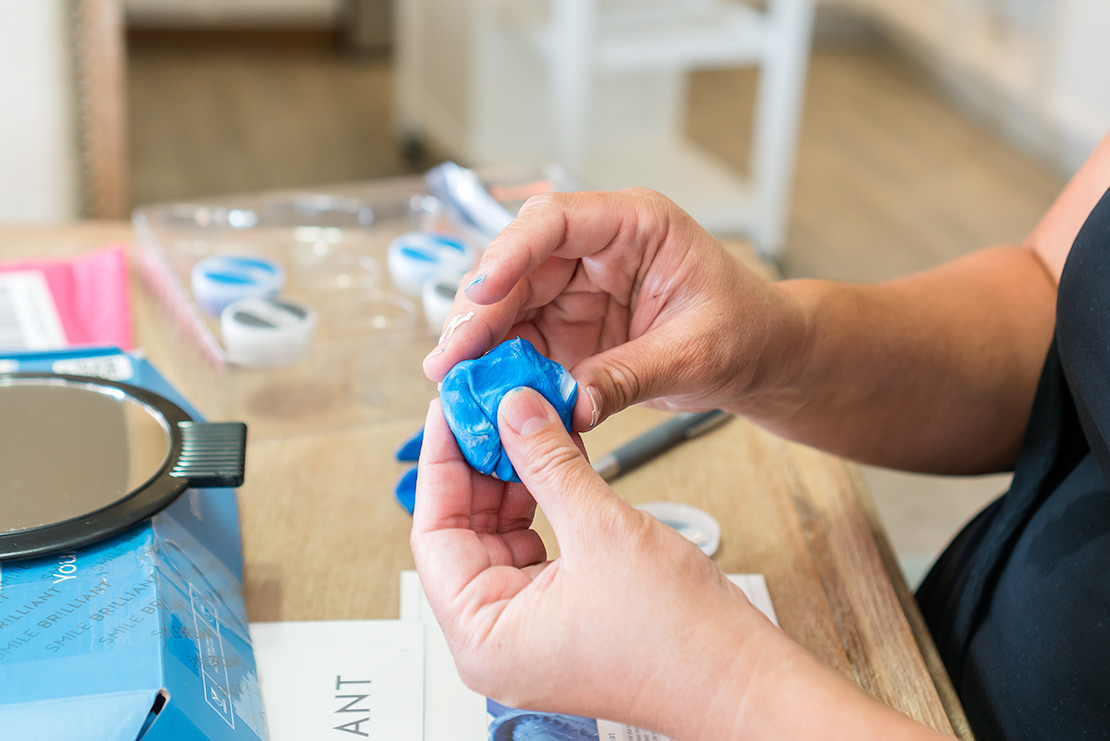
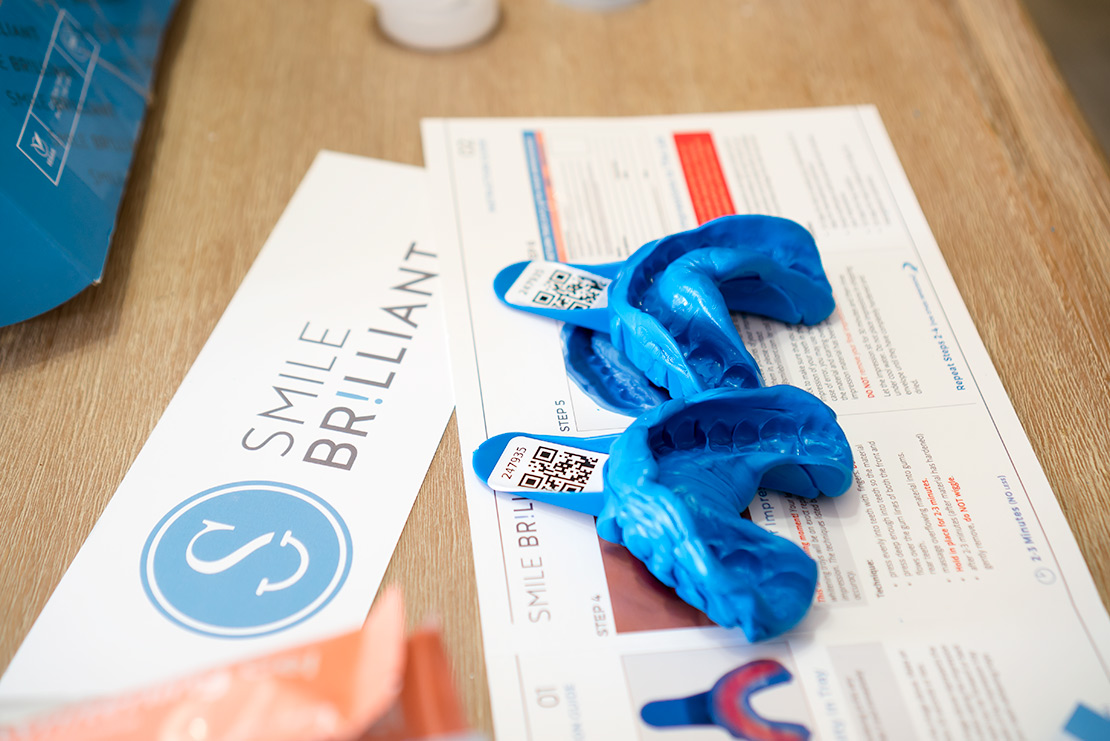
To get started I had to make impressions of my teeth. The kit includes a base and a catalyst paste to make the putty along with step-by-step instructions on how to get perfect impressions. At first I was a little intimidated but the directions are clear and concise and if you have questions you can call or chat with a Smile Brilliant teammate for support. You can even send in photos of your impressions to get approval before sending them in.
It was a smooth and seamless process and I received my trays within a couple days. I was a bit worried because I have very small, gapped teeth and a pretty pronounced overbite but since the trays were custom-made from the molds I made the fit was snug and perfect.
Smile Brilliant recommends the whitening process be done at night when settling down for the evening. This is because you aren’t supposed to eat or drink anything afterwards so going to bed after completing the whitening is best.
The nightly whitening process was easy. After brushing I put a small ribbon of whitening gel along the front of each tray (top and bottom) and fitted the trays onto my teeth. You need to leave the trays in for anywhere between 30 minutes to 3 hours. I started off at 30 minutes and by the time I completed 10 days of whitening I was leaving them in for over an hour.
The whitening gel can cause some gum irritation so it is important to follow the instructions carefully and not use too much gel. I did experience some minor uncomfortable tingling a few nights in so I discontinued use for the evening and started again the next night. It may be helpful to rub some coconut oil on your gums before starting to create a barrier between your gums and the gel. That is just one of the tips I learned from the helpful folks at Smile Brilliant.
After the whitening gel you brush and then use the desensitizing gel which hydrates the teeth, helps prevent tooth sensitivity and protects the teeth from re-staining. The desensitizing gel stays on the teeth for up to 15 minutes and then the process is done.
Like I said I saw visible results within only three days of starting the system. After 10 days my teeth were shiny, white and brilliant. I truly had no idea my teeth needed some brightening but they certainly did and now I have a dazzling smile.
Now I can smile my way through 40 (after I get my greys dyed and maybe some botox) with pride and confidence.
I am excited to give one of my readers the gift a brilliant smile too! Click here to enter. One winner will be randomly selected on Friday, February 2, 2018.
And to get $20 off whitening trays use coupon code: yaybabyblog20 at checkout.
…………………………………………………………………….
Disclaimer: I received the Smile Brilliant tooth whitening system free of charge to help facilitate this review. All opinions within this post are entirely my own.


